Windows Server
Creating the VM
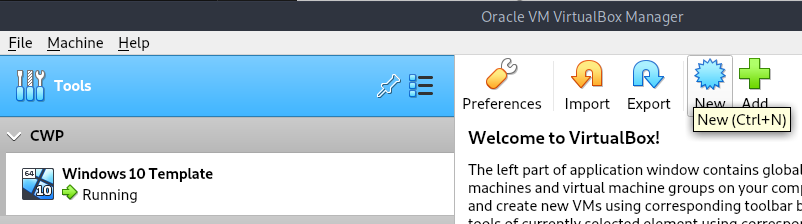
Click on New
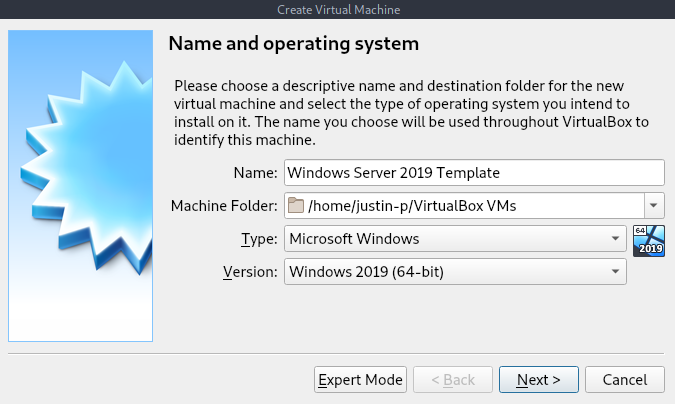
Change the name to Windows Server 2019 Template and the version to Windows Server 2019 64-bit and click Next.
Set the memory size to a minimum of 4096MB

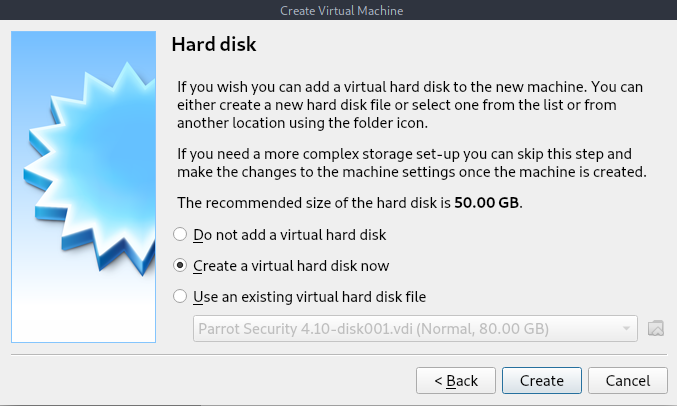
Choose Create a virutal had disk now and click Next.
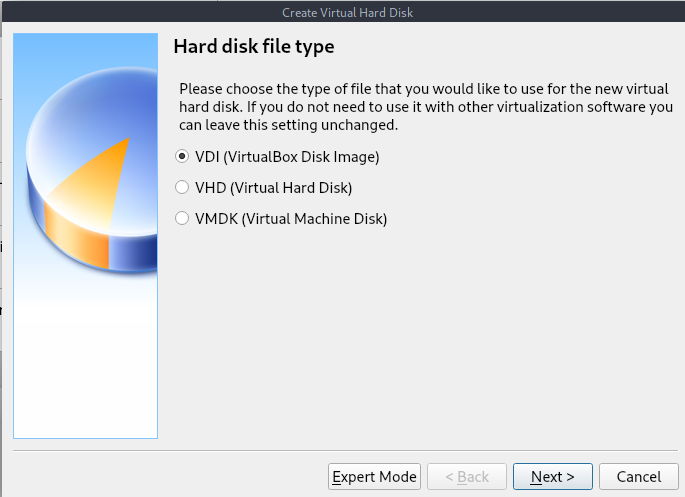
Choose VDI (VirtualBox Disk Image) and click Next.
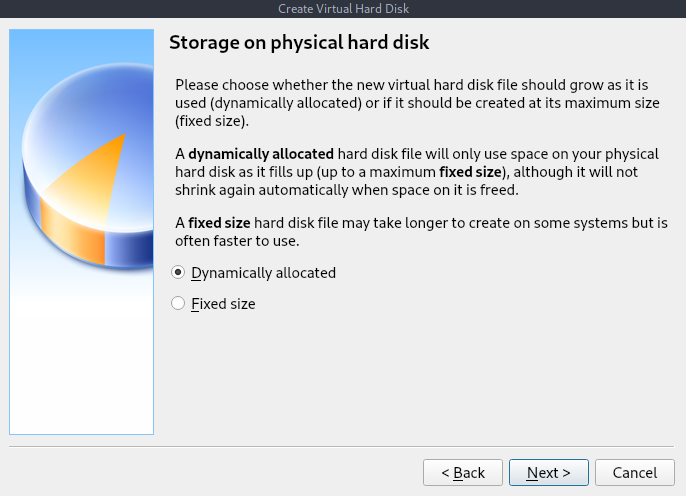
Choose Dynamically allocated and click Next
Use at least 60GB of disk space and click create.
Note: This space is Dynamically allocated, meanings it won’t take up the full 60GB at the start. Your virtual hard disk will grow on your physical harddisk when start using the space inside on your VM.

Click on your new Windows Server 2019 Template VM and then on Settings.
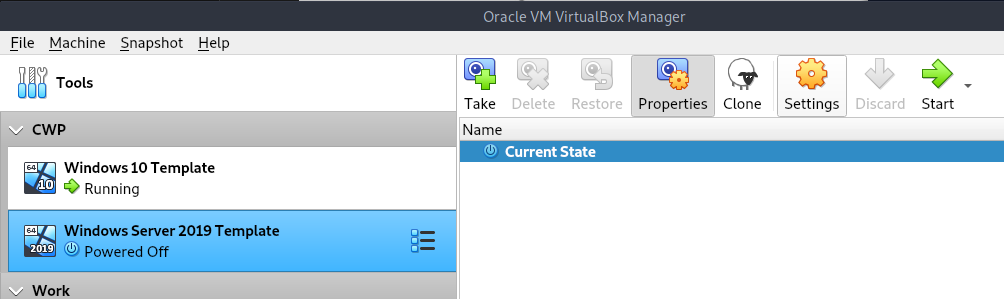
From here go to Storage, click on Empty, select Live CD/DVD and then click on the CD/DVD icon and Choose a disk file....

Go to the location where you stored the Windows ISO’s we downloaded previously and select the Windows Server 2019 ISO, then click on OK.

Note: It probably has something like SERVER_EVAL in its name.
Installing Windows Server 2019
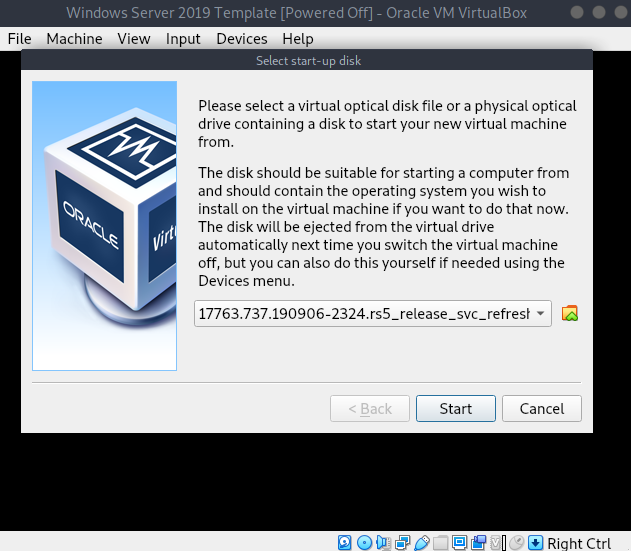
To start your VM double click on Windows 10 Template. When you start the VM this prompt could pop up. When it does click on Cancel.
Now you should be greeted with the Windows Server 2019 installation. Leave all the options on this screen on English/US and click on Next.
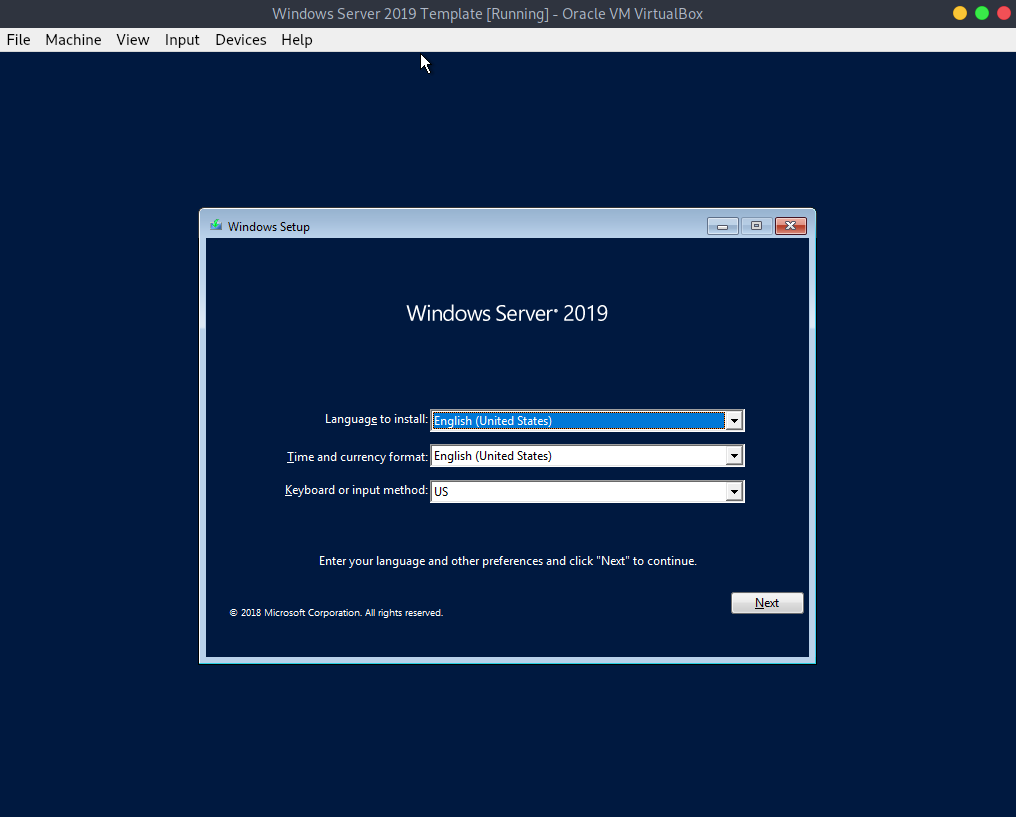
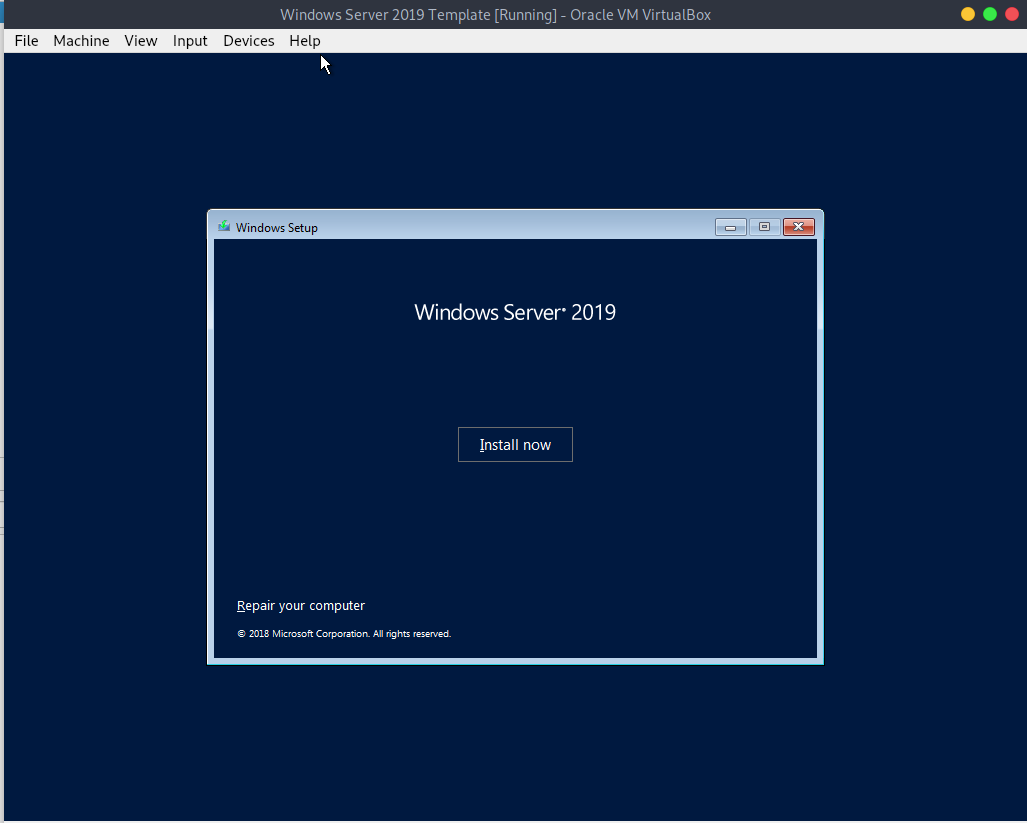
Just click on Install Now to continue.
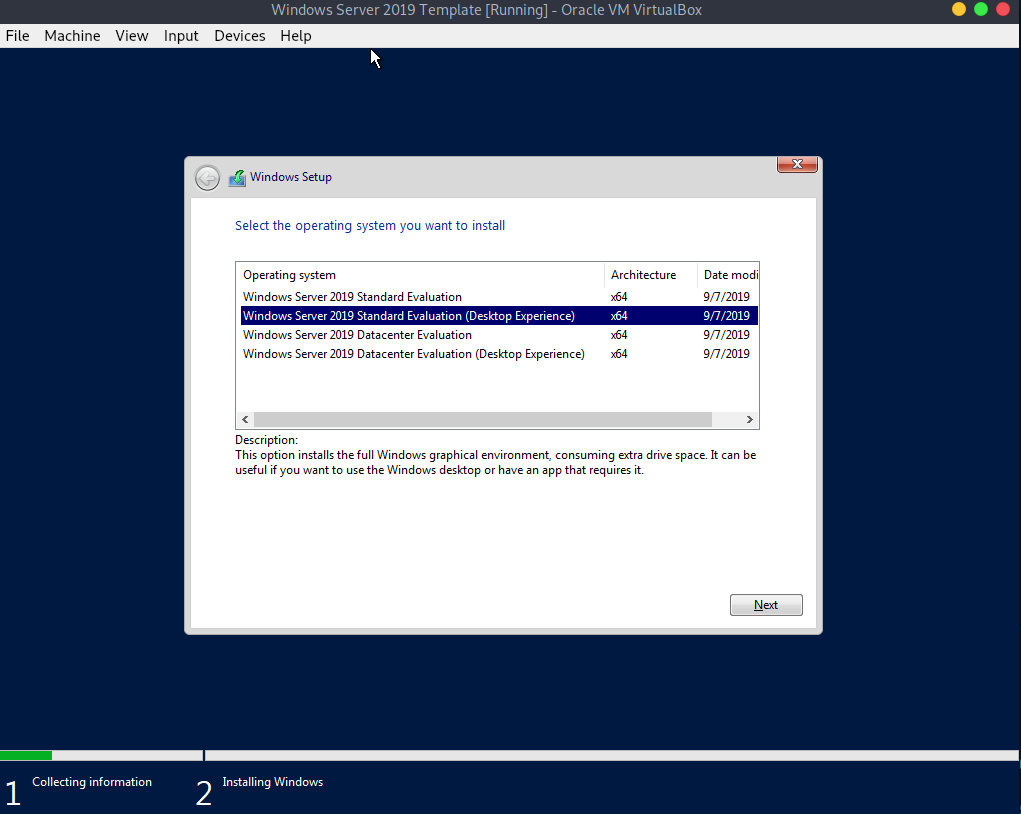
What version to use
Here we can choose from 4 different version of Windows Server.
Standard and Datacenter, both with the option for with and without a GUI.
The difference between standard and datacenter is it target audience and license cost/features. Standard is designed for small-to-medium-sized organizations and allows you to run 2 virtual machines with Hyper-V (Microsoft’s virtualization software). Datacenter edition is optimized for large-scale virtualization in the datacenter and allows for ‘unlimited’ VMs. When I say ‘unlimited’ this is “license speak™”, meaning you are still bound to the capabilities of your hardware, but there won’t be a license based softlock preventing you from creating more VMs in Hyper-V.
It also has some extra options like:
- Network Virtualization;
- ‘Unlimited’ containers in Hyper-V;
- Hyper-V Security;
- ‘Unlimited’ Storage Replicas;
- Storage Spaces Direct.
The other version of Windows Server refers to Windows Core and Desktop Experience (GUI). GUI is what will probably feel most familiar if you used a Windows OS before. Desktop Experience contains a GUI, rendering the machine comparatively user-friendly and easier to manage either remotely or locally.
Core is a strapped down version of Windows Server and generally it does not have a GUI. Server Core it is meant to only be managed remotely, or it can be locally managed via command line and PowerShell. Since Core is a strapped down version it has a smaller footprint (less CPU, RAM and disk usage).
Since we do not need the extra option Datacenter gives and we want to keep this as simple as possible will be working with Windows Server 2019 Standard (Desktop Experience). If you are curious however I advocate you to try and setup a AD lab with Windows Core after you have done it once with a GUI. This will teach you a bunch about AD PowerShell command’s that can help you if you want to learn about automating AD.
TL:DR Choose Windows Server 2019 Standard Evaluation (Desktop Experience) and click on Next.
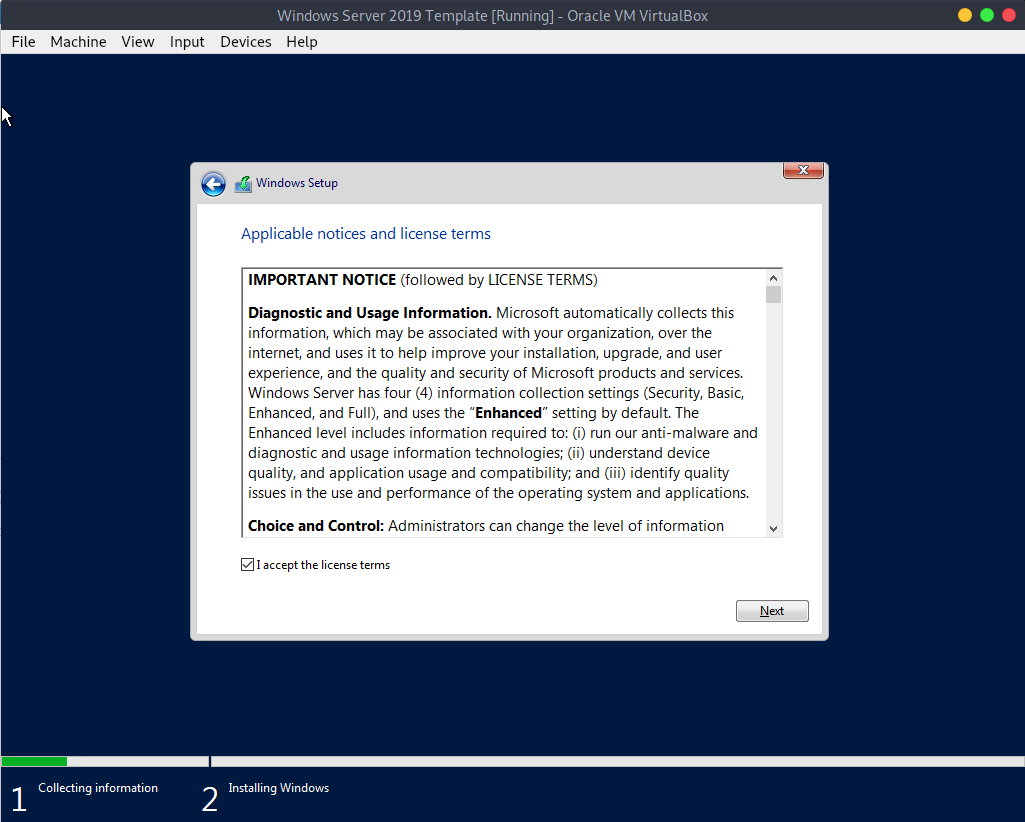
Now here you need to accept the license terms. You can read them if you want to, or just simply accept the fact that you need to accept them anyhow if you want to use the product and click on Next.
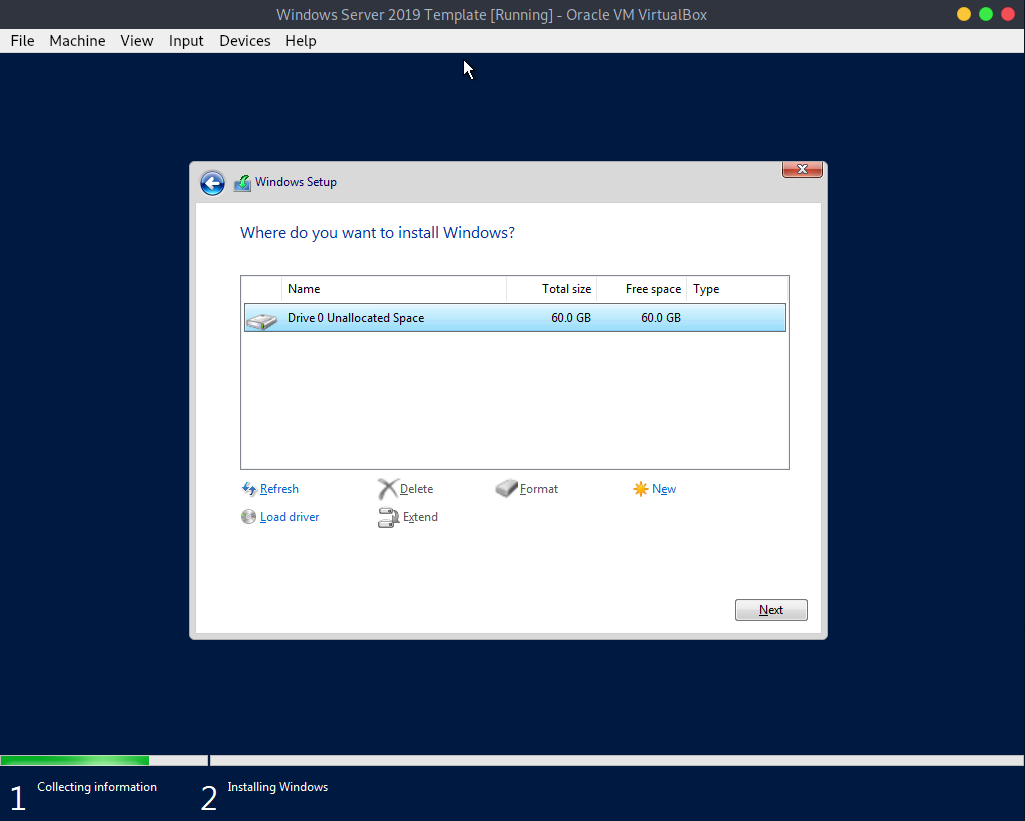
Here we need to select how we are going to install Windows. Click on Custom: Install Windows only (advanced)

Now click on Drive 0 Unallocated Space (this is your virtual harddisk) and click on Next. Now wait for the installation process to complete.
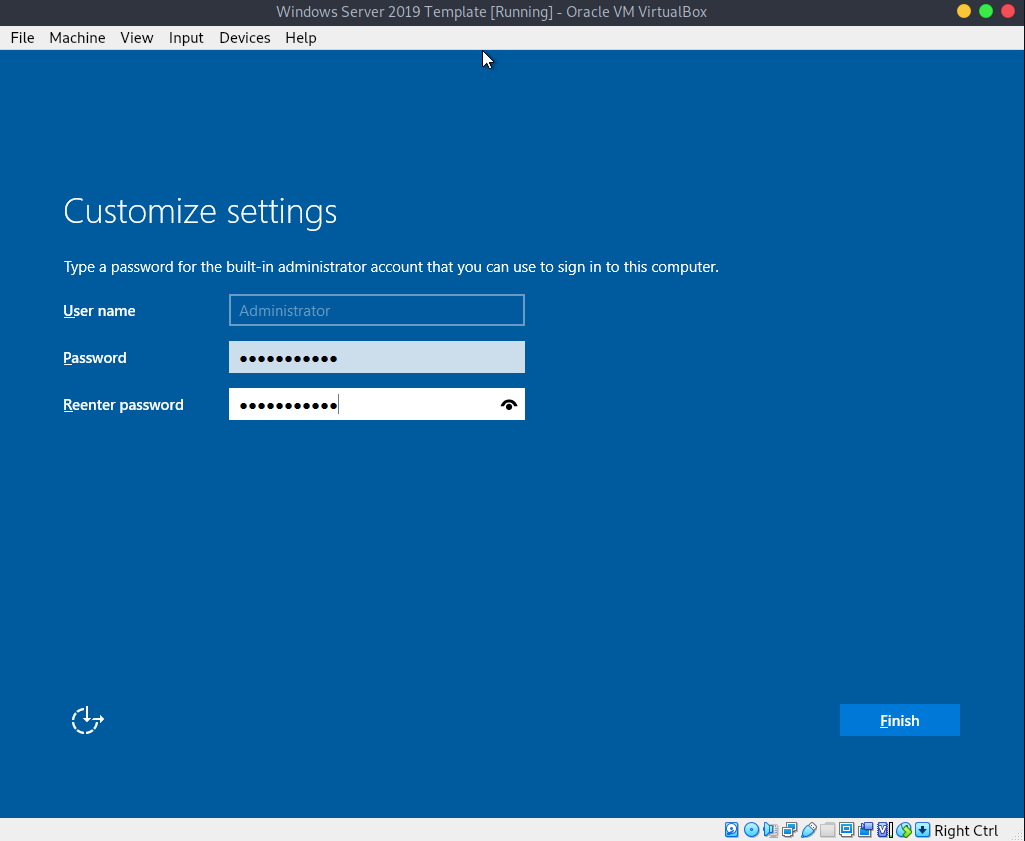
Once it finishes you will be prompted to enter a password. Enter Password01! as the password.
You should not use a weak password like this in a production environment. For local testing purposes (i.e. not connected to the public internet and segmented in a virtual network) this should be fine.
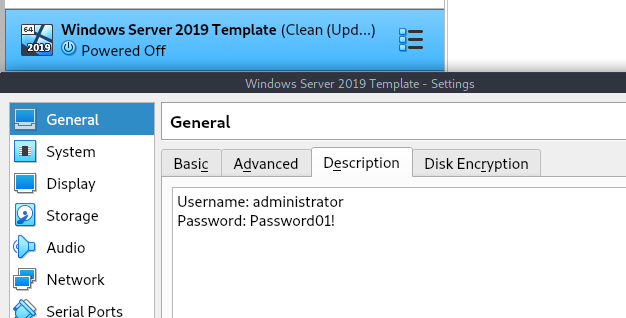
I always add the login credentials to the descriptions of my local testing VMs so I can’t forget them. I recommend you do this also.
Now we have a clean install of Windows Server. To logon go to
Input -> Keyboard -> 'Insert ctrl+alt+del' in VirtualBox and logon with the previously set password.
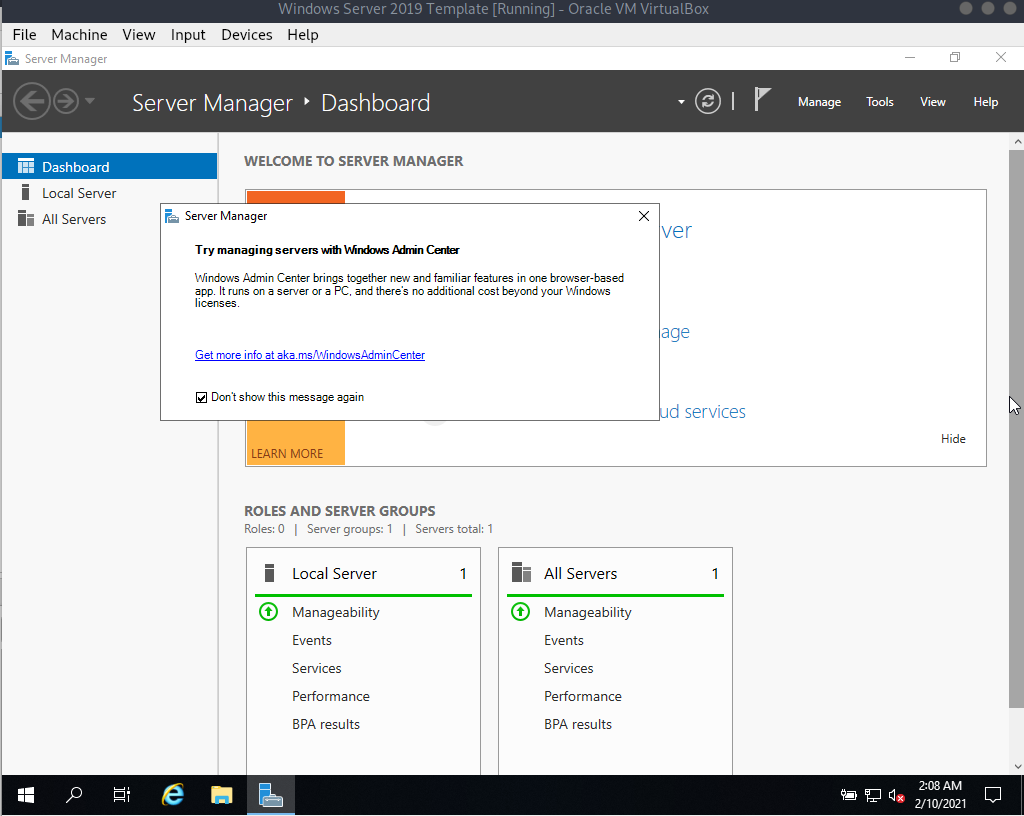
The first thing that should be prompted is server manager. When it loads it will ask you about Windows Admin Center. Just click on Don't show this message again and close that window.
Windows updates
Once Windows has been fully set up we can start updating it to the latest version. Click on start and go to Settings.
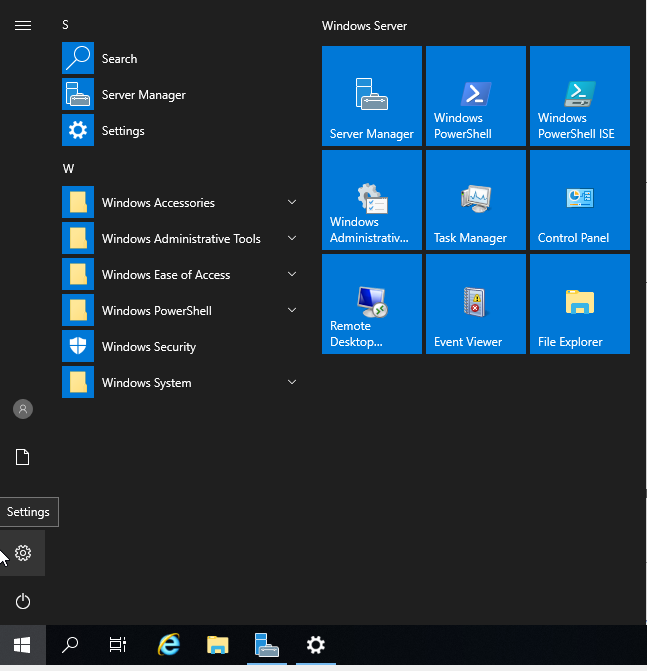
Search for updates.
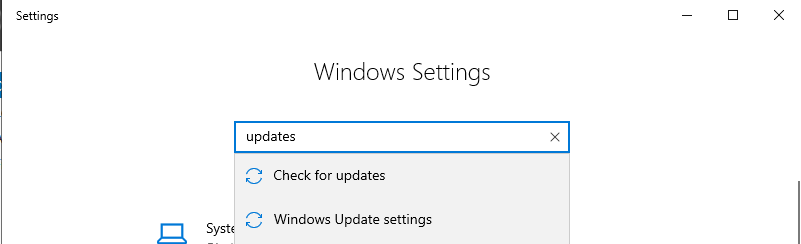
And click on Check for updates.
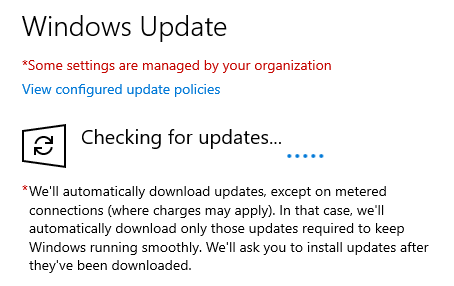
During this process you will need to reboot multiple times and keep checking for new updates.
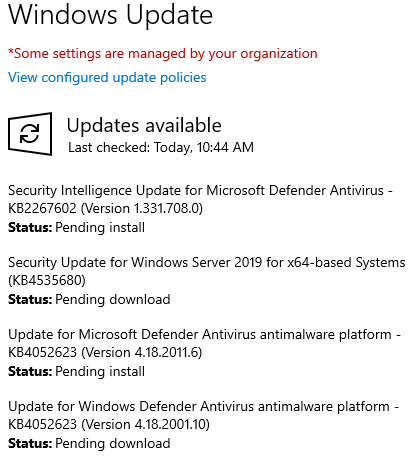
You know when you are done updating when the ‘Check for updates’ button returns ‘You’re up to date’ and returns no further updates.
Windows time
Since an Active Directory is sensitive to time (de)synchronization issues between Clients and Active Directory it is imported we set up system time correctly in our templates.
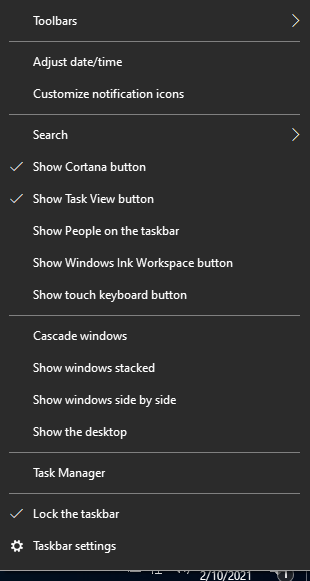
To open the system time settings right click on the date/time on the startbar en select Adjust date/time.
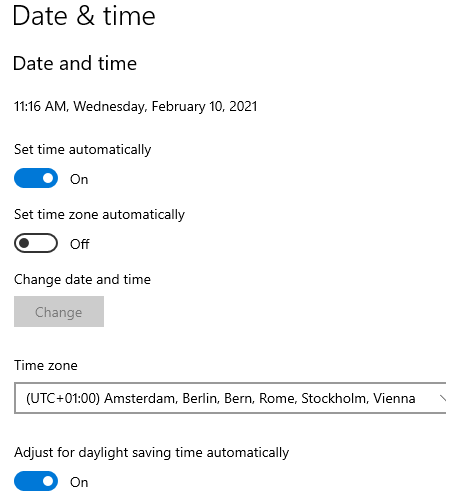
Now update the time zone to your local zone. (Mine is UTC+01:00). Just remember to set the same time zone on the next template we create.
If the time is incorrect/not updating after changing the time zone, turn off and on Set time automatically. This should fix it.
Guest additions
One of the last things we need to do in our template is install VirtualBox guest additions. It’s pretty much the same as it was on Windows 10. First add the disk using VirtualBox.
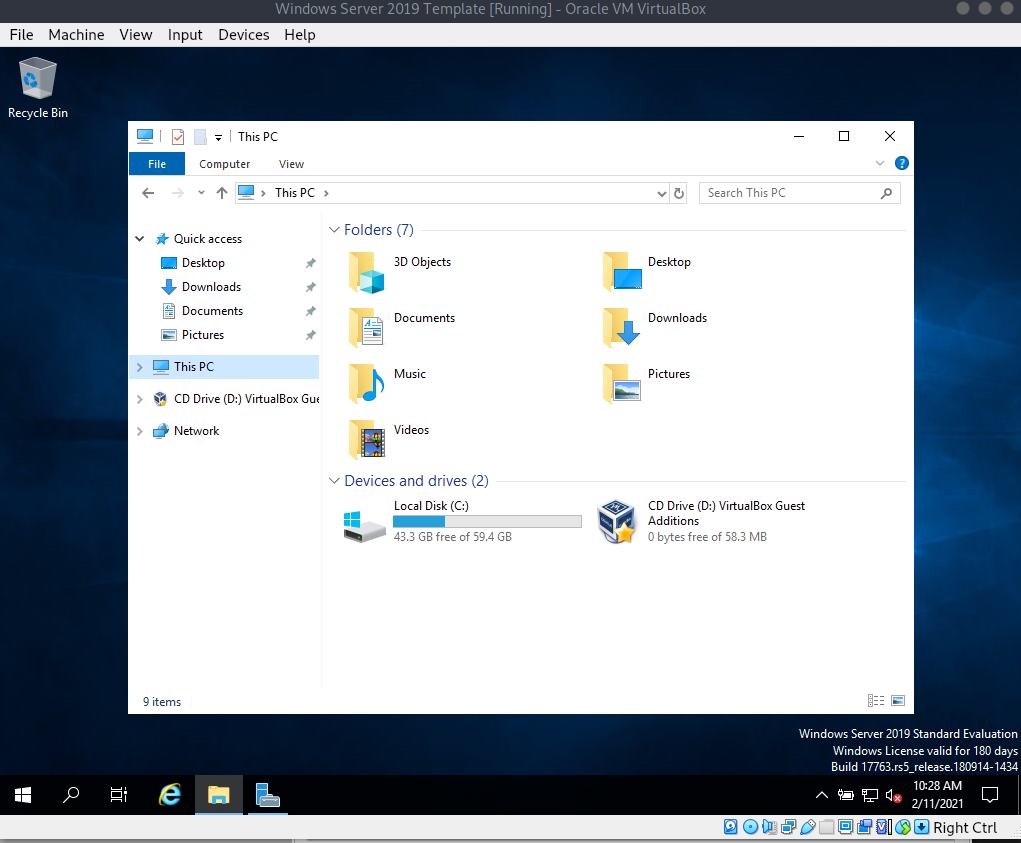
Now open the file explorer and browse to This PC, then click on the CD Drive.
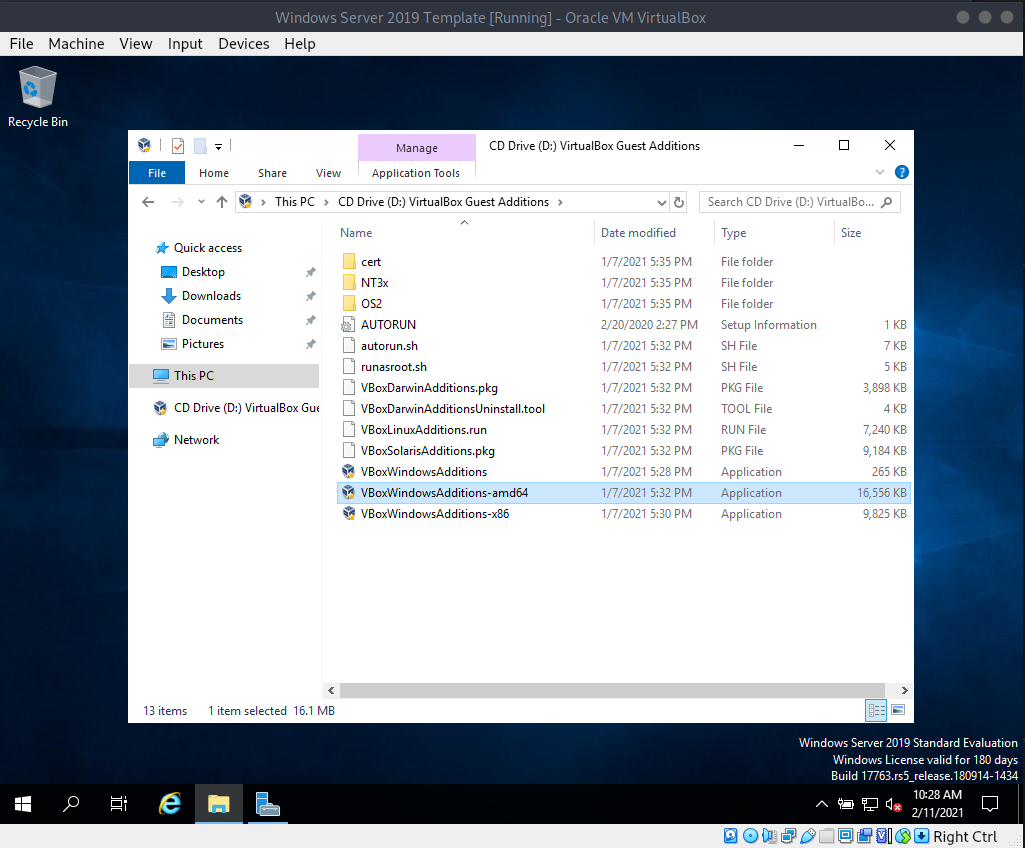
Then run VBoxWindowsAdditions-amd64.
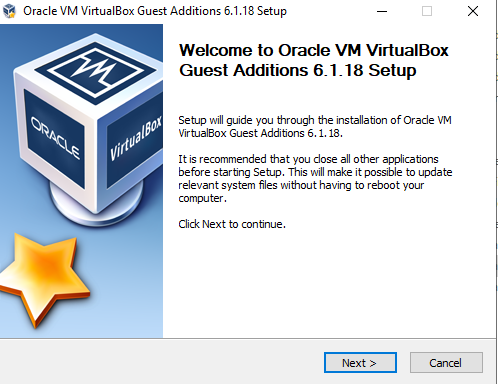
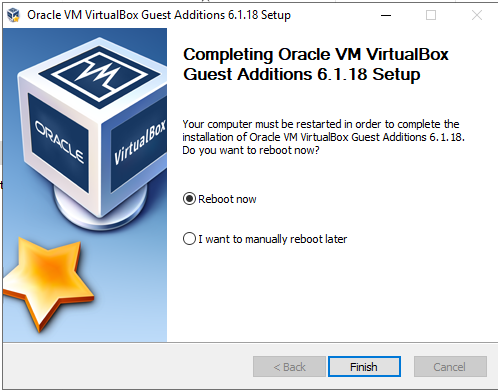
Then keep clicking next until the installation finishes.
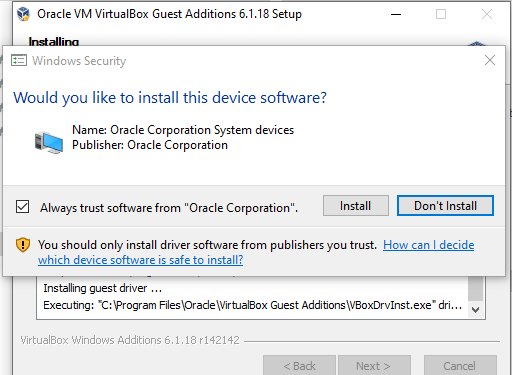
You might get prompted to install device software, if so click Install.
Now the Guest additions installation should finish up. Once it’s done check reboot now and once its rebooted shutdown the VM.
When the machine has fully powered off click on the VM and open Settings. Now go to Storage, select the VBoxGuestAdditions...-drive and right click on it. Then click on Remove Attachment and then Remove.
Sysprep
Turn on the machine once again (last time I promise) and click on start. Click on start and search for CMD and press enter. Now type the following in the Command Prompt:
cd C:\Windows\System32\Sysprepsysprep.exe /oobe /generalize /shutdown
This program resets windows to a ‘Out-of-box-experience’. This will ensure no issues will pop up when joining (multiple copies of this machine) to a Active Directory Domain. This sysprep process might take a while.
Create Snapshot
Since we now have a VM in a nice clean and prepared state we want to create a snapshot of it. A snapshot is basically a copy of your VM at a given point in time. This snapshot will allow us to create Linked clone which will save us time and disk space.
Back in VirtualBox click on the 3 squares and lines next to the VM. Then choose Snapshots and click on Take. Now enter a name for the snapshot. In the case of Templates I like to note down what kind it is (in this case a clean VM) and when it was last updated.

Finished!
Now we are done fully with the technical preparations. Go grab a drink and give yourself a pat on the back. In the next chapter will start with the real meat of this guide. There is however a bit more work left for you to do, which is required knowledge.